Leads
The Leads menu in the client dashboard allows clients to import and manage leads.
Last updated About 1 year ago
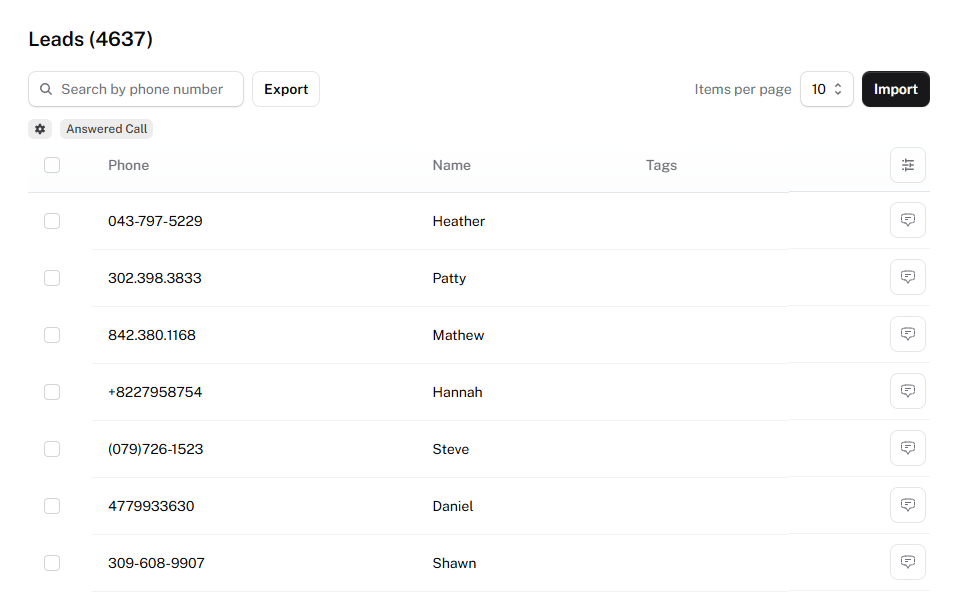
Note: Data shown above is not for real leads.
Importing Leads
When uploading a CSV file of leads, make sure to follow all guidelines:
The phone column is required.
The name column is optional, but will be used as the label for associated conversations on the Conversations page when provided.
The tags column should not be included (see Lead Tags section for more details).
Any additional columns can be added as required for your use-case.
Here is a sample of what the CSV should look like (a template CSV file is also available for download in the Import Leads menu):
Lead Tags
Tags can be created in the Lead Tags menu and attached to leads for various use-cases. Access this menu by clicking on the gear icon near the top-left corner of the page.
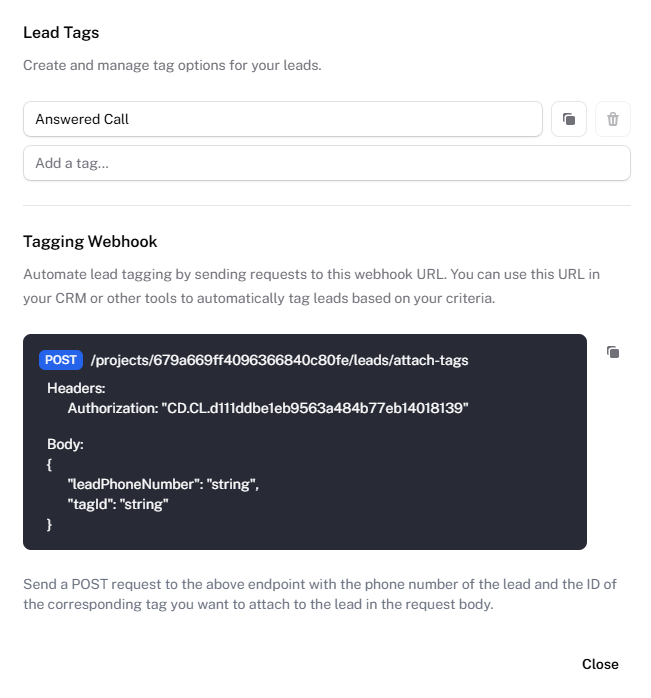
By default, the Answered Call tag is already created. This tag is a system tag that is automatically attached to leads that answer outbound calls sent out through Campaigns. Additional tags can be created and attached by selecting the lead or leads and clicking on the desired tag.
It is also possible to automatically tag leads using the tagging webhook. Simply send a POST request to the URL with the appropriate Authorization header and body.
Note: This webhook is a client-facing URL that is white-labeled with your custom domain. Intended use is for clients to directly set up an automation for tagging within their CRM or other tools. If you, as the agency, want to set up the tagging automation, please refer to our official Leads API.
Exporting Leads
The Export button exports a CSV file containing the leads you are currently viewing. For example, if you type a specific area code in the search bar and get matching results, exporting will create a CSV file containing only the matching leads.